Last updated: October 22, 2026
Key Takeaways
- Four basics are enough to begin: needle, floss, fabric, and a hoop.
- Learn them in this order: running stitch, backstitch, stem stitch, satin stitch, then French knot.
- Running stitch is the simplest starter line because it uses an over-under motion through fabric.
- Backstitch is a strong beginner outline stitch because it makes a continuous line with clean edges.
The basic embroidery stitches every beginner should learn are the running stitch, backstitch, satin stitch, stem stitch, and French knot. Those five cover the jobs most new embroiderers actually need: outlines, simple fills, curved lines, and small raised dots on fabric stretched in an embroidery hoop.
What these embroidery stitches do for a beginner
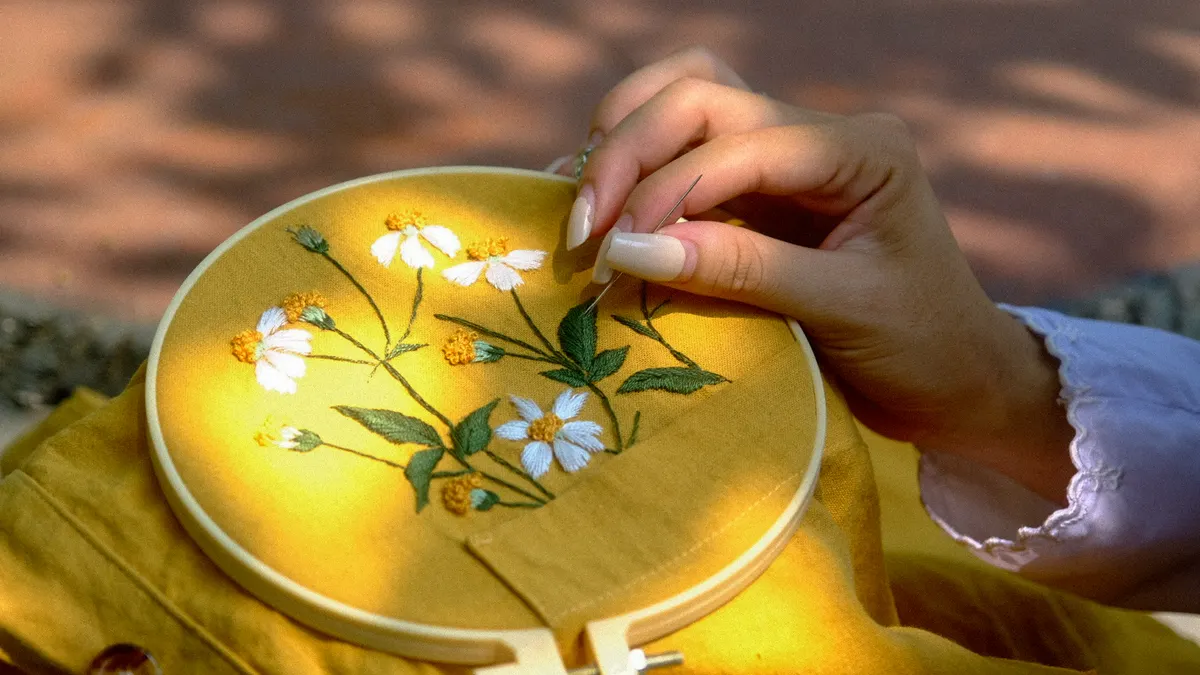
These embroidery stitches give you enough control to finish small projects without turning embroidery into a 30-stitch homework list. A needle, embroidery floss, fabric, and a hoop are enough to start practicing the stitches here.
A lot of beginner guides make the same mistake: they list dozens of stitches before the reader can make one clean line. That sounds helpful and usually leaves the beginner stuck. The tighter starter set is better because each stitch solves a different problem. The running stitch moves thread quickly across fabric. The backstitch makes a firm line. The satin stitch fills a shape. The stem stitch handles curves. The French knot adds a dot or textured detail.
That is the right place to begin if the goal is practical embroidery, not collecting names. It is not the right place if the reader wants a stitch encyclopedia or a cross stitch chart. Those are different subjects. This page is for someone who wants to put thread on cloth and make it look intentional.
A workable first practice setup is plain woven cotton, an 8-inch hoop, and embroidery floss cut into a length that is comfortable to manage without tangling. If the fabric is too stretchy, the stitches will look sloppy no matter how carefully they are formed. If the floss is too long, it will twist and wear out before the line is finished. Shorter lengths are easier to control.
For a wider view of how these skills fit into the bigger craft, the hub on needlework stitches and technique sits naturally above this guide.
How do you learn basic embroidery stitches without getting lost?
You learn them in this order: running stitch, backstitch, stem stitch, satin stitch, then French knot. That sequence starts with the easiest motion and ends with the most delicate control, which is why it works better than jumping around.
Here is the simplest practice routine:
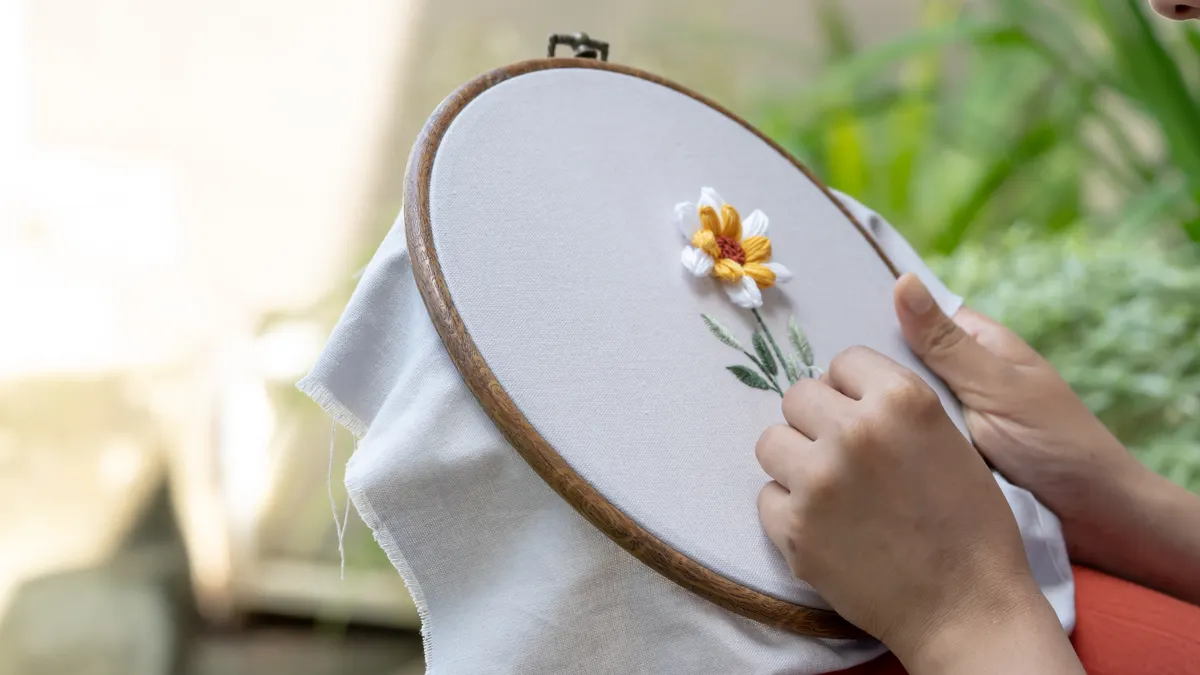
- Stretch a piece of woven fabric in a hoop so it is drum-tight. A taut surface makes the needle enter and leave the cloth cleanly, which keeps the stitch length even.
- Thread one strand or two strands of embroidery floss onto a needle with an eye large enough to take the thread without fraying it. Fewer strands make finer lines; more strands make fuller lines.
- Mark a short line, a curve, and a small circle with a washable pencil or air-erasable pen. Those three shapes give you a place to test each stitch where it matters.
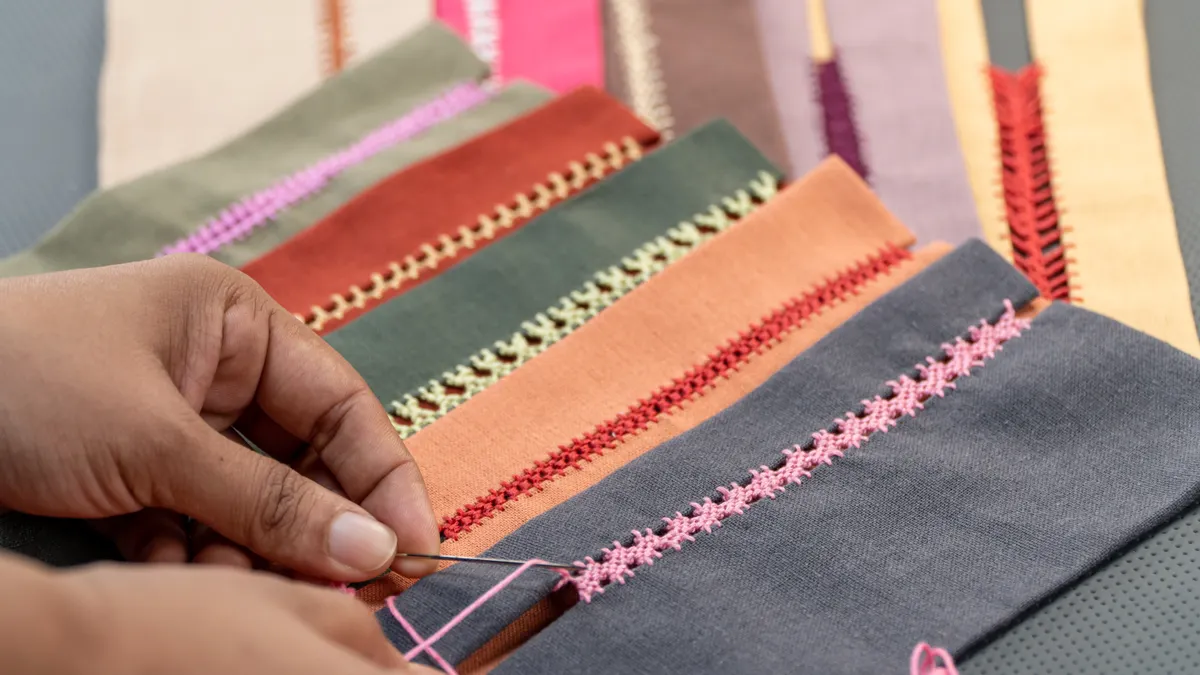
- Work running stitch along the straight line using short, even bites of fabric. The result should look like a dashed line, not a zigzag.
- Work backstitch along the same line next. The stitches should meet edge to edge and look like a solid line from the top of the fabric.
- Use stem stitch on the curve. Keep the thread slightly to one side of the line so the edge looks rope-like and smooth.
- Fill the circle with satin stitch. Place each stitch side by side so the fabric disappears underneath and the surface looks smooth.
- Add one or two French knots at the edge of the circle. Wrap the thread once or twice around the needle to form a small raised dot.
That order matters because it teaches control in layers. Running stitch teaches spacing. Backstitch teaches connection. Stem stitch teaches curves. Satin stitch teaches coverage. French knot teaches a tiny knot that stays where you put it. Skipping straight to satin stitch is a common beginner mistake; the edges show every uneven hand movement, and the result can look ragged fast.
If the stitches look puckered, the thread is probably being pulled too tightly. Relax the tension until the fabric lies flat again. If the floss twists, let the needle dangle for a moment so the thread can unwind.
Running stitch: the first line you should practice
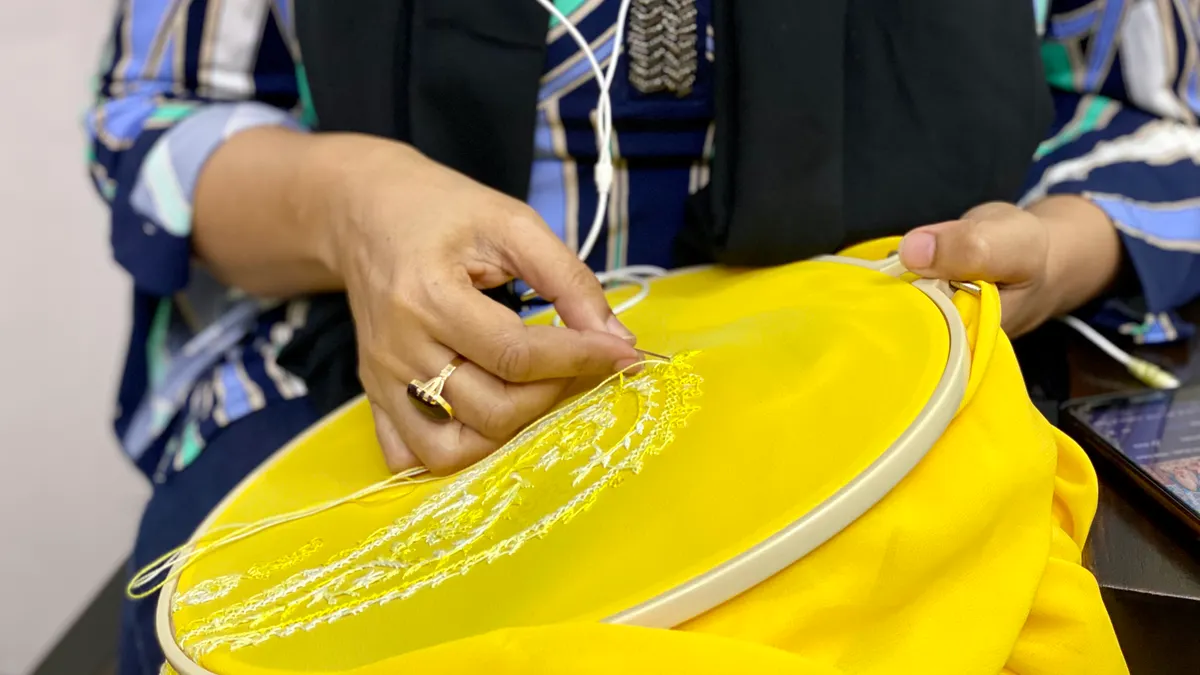
Running stitch is the easiest basic embroidery stitch because it is simply an over-under line through fabric. It is the place to start if the needle feels awkward in your hand.
Use it for outlines that are meant to look light, for decorative borders, or for testing thread tension before you commit to a more visible stitch. Keep the stitch length around 2 to 4 millimeters on practice fabric, then adjust for the scale of the design. Shorter stitches look neater; longer stitches are faster but read as looser and more casual.
To make it, bring the needle up through the fabric, move forward a small distance, and take it down again. Then come back up a short space later and repeat. The thread should lay in small segments, not stretch the fabric.
The usual beginner mistake is making each segment a different size. That costs the line its rhythm. Another mistake is pulling every stitch tight enough to make the cloth ripple. That costs the shape of the fabric. The fix is simple: stop chasing perfect sameness on the first pass and aim for steady spacing first. Uniform tension comes after your hand learns the motion.
Running stitch can also help you check whether the fabric and floss suit the project. On very loose-weave fabric, the stitches can sink in and disappear. On dense fabric, the stitches sit on top more clearly. That makes it a useful diagnostic stitch before you move to more polished work.
Backstitch: the stitch that gives embroidery a clean outline
Backstitch is the most useful outline stitch for beginners because it makes a continuous line with strong edges. It is the stitch to learn when the design needs a firm border rather than a dotted look.
Work it by bringing the needle up, moving forward one stitch length, and taking the needle down. Then bring it up a stitch length ahead of where you are now and come back into the end of the previous stitch. Each new stitch starts where the last one ended. That overlap is what creates the solid line.
A practical first length is about 3 millimeters on medium-weight cotton. If the design is small, use shorter stitches; if the line is long and flowing, slightly longer stitches can look smoother. The key is consistency. Backstitch with uneven lengths looks busy instead of crisp.
The downside is that backstitch takes more time than running stitch. It is not the best choice for a very quick decorative fill or for a deliberately airy effect. It is the right choice when the outline must hold its shape clearly, especially around leaves, letters, and small motifs.
A common mistake is stopping too long between stitches and then losing the rhythm of the line. Another is placing each stitch too far apart, which breaks the edge. If the line starts to look broken, shorten the spacing before you change anything else. Backstitch rewards patience, not speed.
If the goal is one stitch to learn early and use often, this is it. It is the workhorse line in the beginner set and the one that makes many designs look finished instead of tentative.
Which stitches should a beginner learn first?
A beginner should learn running stitch and backstitch first, then stem stitch, satin stitch, and French knot. That order gives a quick return because the first two teach line control, and the last three expand what the line can do.
Stem stitch should come before satin stitch if the reader wants to embroider leaves, stems, vines, lettering, or any curved outline. It produces a slightly twisted rope effect that follows curves smoothly. Satin stitch should come after a few line stitches because it depends on clean edge control. French knot can come anytime after the hand is comfortable bringing the needle up and down neatly, but it usually feels easier once the thread tension is under control.
The real trade-off is this: the smaller the starter set, the sooner the beginner gets results; the smaller the set, the longer it takes to learn more decorative effects. Five stitches is a good compromise. It is enough to make useful work, but not so many that every practice piece turns into a vocabulary test.
A beginner should not start with specialty stitches that depend on exact spacing or complex layering. Those can wait until the hand knows how the needle moves through the fabric. If the first project is a small monogram, a leaf, or a simple flower, these five stitches cover it well. If the project needs textured realism or advanced shading, it belongs to a more advanced set.
Stem stitch and satin stitch: the pair that makes shapes look finished
Stem stitch is the curve-friendly line stitch, and satin stitch is the basic fill stitch for solid areas. Together, they make a design look deliberate instead of sketched.
Stem stitch is worked by bringing the needle up on the line and taking it down a short distance ahead, then bringing it back up slightly to one side of the line. That offset creates the rope-like twist. Use it for stems, vines, cursive letters, and curved petals. A 3 to 5 millimeter stitch length is a good starting range on medium fabric.
The main mistake with stem stitch is putting the needle back on the wrong side of the previous stitch, which breaks the twist and makes the line look flat. Another mistake is yanking the thread too hard, which collapses the curve. Let the stitch sit lightly on the fabric.
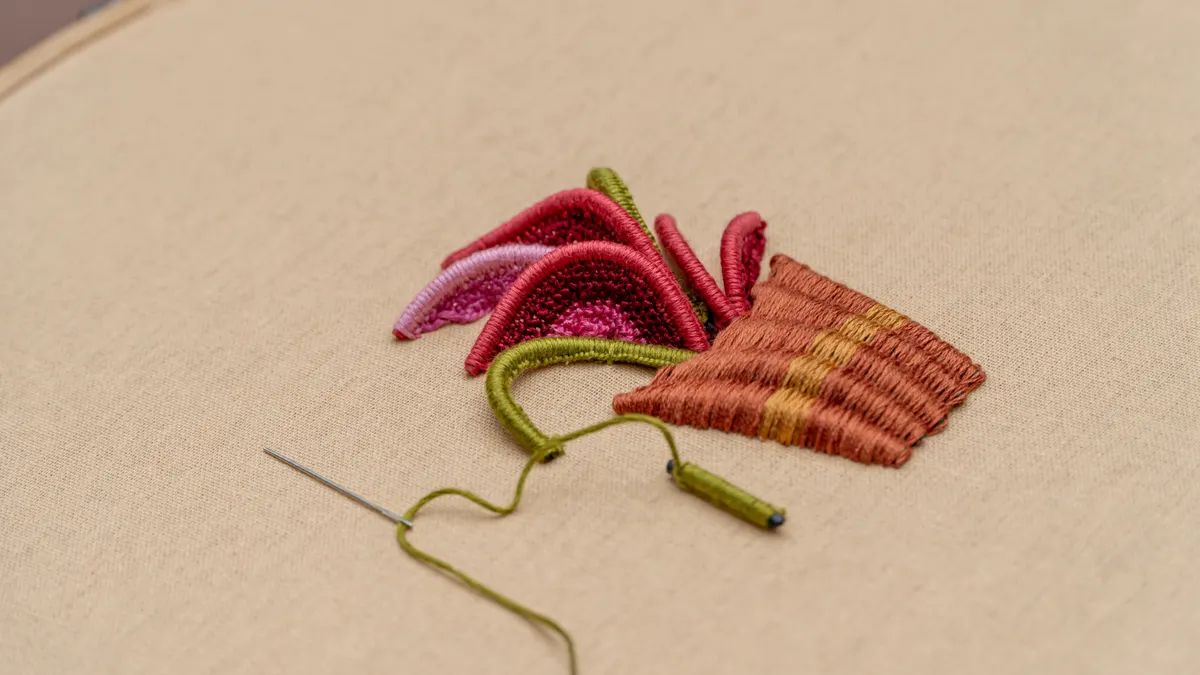
Satin stitch is a row of long, closely packed stitches that fill a shape edge to edge. It works best in small areas, because large fills are harder to keep smooth. A narrow leaf, teardrop, or petal is a better beginner target than a broad circle. If the shape is too large, the thread can snag, separate, or show gaps.
The usual satin stitch mistake is leaving the edges ragged. That costs the clean, polished look people want from embroidery. The fix is to make a firm outline first, then place each stitch right next to the last one so the fabric disappears underneath. Another mistake is making every stitch the same length without watching the shape; on a tapered form, the stitches need to fan slightly to keep the edge clean.
If a beginner can work one neat stem stitch curve and one smooth satin-filled leaf, the needle already has enough range to do a surprising amount of useful embroidery.
French knot: the small detail that changes a design
French knot is the basic embroidery stitch for a tiny raised dot, and it is the one beginners often avoid until they realize how useful it is. It adds an eye, a flower center, a berry, or texture on fabric in a way no flat stitch can.
To make one, bring the thread up, hold it under gentle tension, wrap it once or twice around the needle, then take the needle back down very close to where it came up. The wraps should stay snug on the needle as it goes into the fabric. If the wraps loosen before the needle passes through, the knot can collapse into a tangle.
A simple practice setup is a single knot on scrap fabric with the hoop pulled firm. That lets you see whether the wraps land neatly. One wrap usually gives a smaller knot; two wraps make a slightly larger one. More wraps can work, but they are harder to control and more likely to snag.
The main drawback is that French knots can feel finicky. They do not like rushed hands or loose fabric. They also look uneven if the thread is pulled with different force from knot to knot. For that reason, they are better used as accents than as the main structure of a design.
A common mistake is pulling the needle too far from the starting point. That leaves a long tail on the back and a sloppy knot on the front. Keep the needle close to the entry point and keep the wraps tidy. Once that motion clicks, French knots become one of the most satisfying beginner stitches because they add instant texture with very little thread.
What mistakes make beginner stitches look messy?
Uneven tension, long thread lengths, and the wrong fabric make beginner stitches look messy faster than lack of talent does. Those three problems account for most of the frustration.
First, pulling too tightly makes the fabric pucker. That ruins even a good backstitch line. The answer is to stop tightening every stitch the moment it lands and instead let the floss rest on the surface. Second, using thread that is too long causes tangles and worn spots. Shorter lengths are easier to manage, especially with embroidery floss that separates into strands. Third, choosing slippery or stretchy fabric makes clean stitches harder than they need to be. A stable woven cotton is a much better practice ground than something loose or elastic.
The other mistake is trying to learn too many stitches at once. Five stitches is enough for a beginner’s first real projects. More stitches at once can mean less confidence and more half-finished practice cloth. A beginner who can make a straight running stitch, a clean backstitch, a smooth stem stitch, a tidy satin fill, and a controlled French knot already has a usable foundation.
For more stitching context, the needlework stitches and technique hub can sit beside this guide as the broader map.
How many stitches do i need to start embroidery?
You need five stitches to start embroidery well: running stitch, backstitch, stem stitch, satin stitch, and French knot. That is enough to outline, fill, curve, and add texture without buying a full stitch dictionary in your head first.
A smaller number can work if the goal is only to dabble. Running stitch alone can decorate a hem or frame a shape. Backstitch alone can outline a simple motif. But if the goal is to start embroidery as a useful craft, five is the better number because it covers the most common tasks. That keeps the first projects from feeling repetitive.
The limit matters too. A beginner does not need every stitch under the sun, and learning more before the hand is steady usually slows progress. The five-stitch starter set is a practical compromise, not a fixed law. If a project needs only two of the five, use two. If the design asks for a cleaner line than running stitch, choose backstitch instead. If a leaf needs a smooth fill, use satin stitch and skip the rest.
The best beginner setup is simple: a hoop, woven fabric, embroidery floss, and a needle that passes through the cloth without forcing the holes larger. That combination is enough to practice for weeks and finish real pieces without chasing equipment upgrades.
Drafted with AI; not yet reviewed by a person.