Last updated: October 24, 2026
Quick Answer: How to do satin stitch without gaps or twisting usually comes down to three controls: hoop the fabric firmly, keep stitches edge to edge, and use a stitch span that fits the shape. Satin stitch fills a shape with smooth, close lines of thread, but it only looks polished when the edges are controlled and the stitches all travel in the same direction. If you are getting gaps, ridges, or thread that twists into a rope, the fix is mostly in the setup: hoop the fabric firmly, plan the stitch direction, and keep each stitch narrow enough that it lies flat. This guide covers how to do satin stitch without gaps or twisting.
Key takeaways
- A taut fabric surface matters as much as the stitch itself.
- Satin stitch works best on small and medium shapes with clean outlines.
- Stitch direction should follow the shape, not fight it.
- Padding underlay can hide the ground fabric and raise the surface, but too much padding makes edges bulky.
- If the span gets too wide, satin stitch starts to look striped or snag-prone; another filling stitch is usually the better choice.
What satin stitch needs before you start
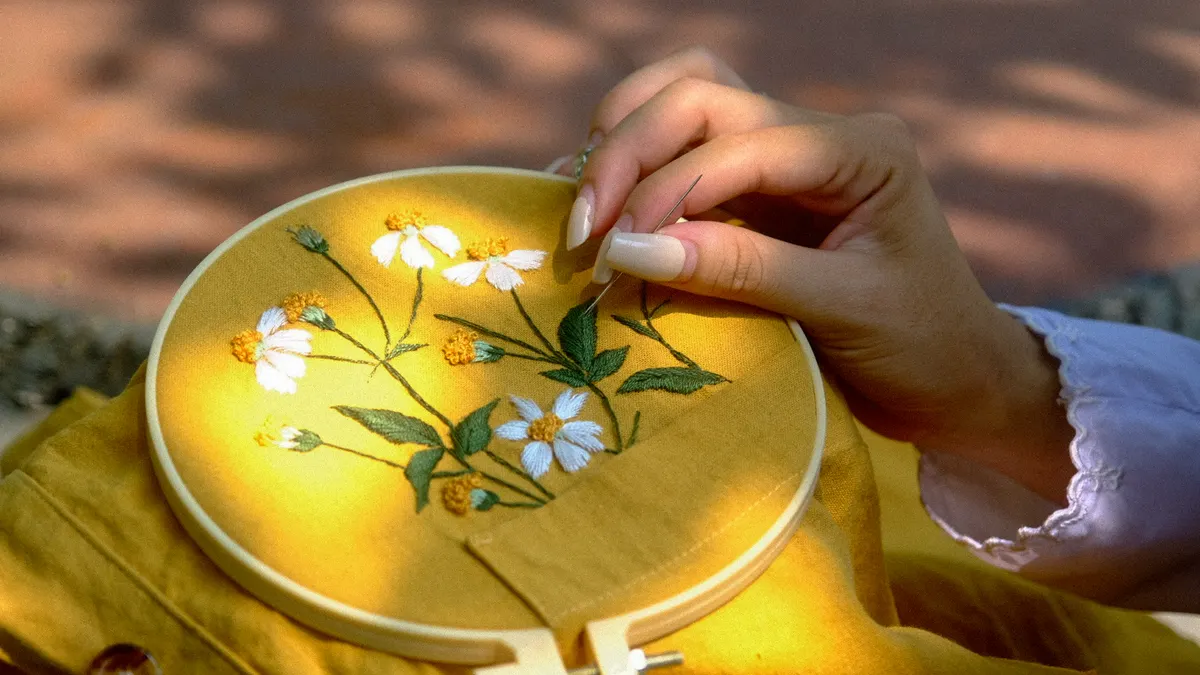
Satin stitch needs a stable hoop, a smooth outline, embroidery floss, fabric that can hold tension, and a needle that passes cleanly through without enlarging the holes. The simplest setup is a 4-inch or 6-inch embroidery hoop, 6-strand cotton floss separated to the number your pattern calls for, and a sharp embroidery needle sized for the thread and cloth. According to DMC, floss is commonly split into strands for control, and the right needle size helps the stitches sit neatly.
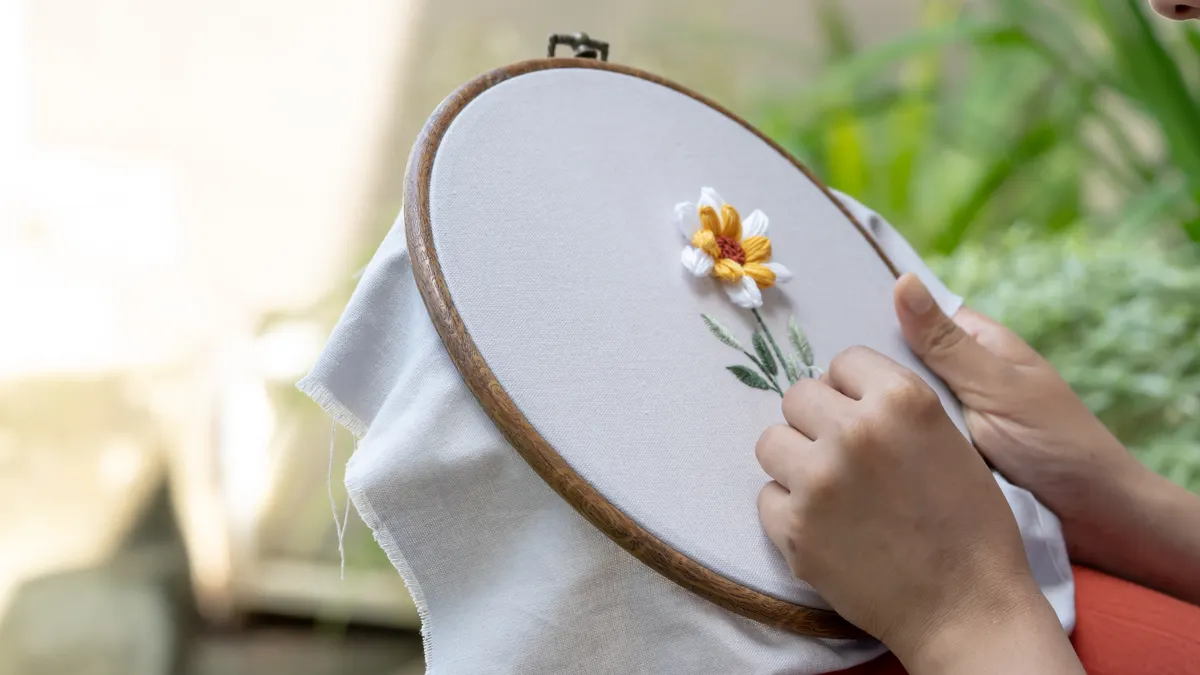
Hoop the fabric so it sounds and feels firm when tapped. If the fabric sags, the stitches will sink unevenly and leave little tunnels of ground cloth between them. A firm hoop does not have to drum like a snare, but it should not flex when you guide the needle through. DMC notes that a taut surface helps keep embroidery stitches even.
Transfer or trace the shape with a clear outer boundary. Satin stitch depends on that edge, because the stitches cover it from side to side. If the line is fuzzy or irregular, the finish will show it. For very small motifs, a clean outline matters even more than for larger ones, because there is less room to hide mistakes.
Choose a shape that suits satin stitch. Narrow leaves, petals, initials, teardrops, and small blocks usually work well. Long spans are where trouble begins: the thread starts to twist, the coverage can look striped, and the middle can catch or snag. That is one reason this stitch is not the right answer for every filled area.
If the shape is on slippery or loosely woven fabric, consider a stabilizer behind it. The goal is not stiffness for its own sake; it is preventing the cloth from shifting under repeated passes. That support is especially useful when the embroidery floss is smooth or glossy, because the thread slides more easily across an unstable surface.
How do you keep satin stitch smooth?
You keep satin stitch smooth by making each stitch cross the shape cleanly, keeping the fabric taut, and letting the thread lie in one consistent direction. Smoothness comes from control at both ends: where the needle enters and where it emerges.
Begin with the outline. A satin stitch looks cleaner when the boundary is straight, curved, or sharply defined before the fill starts. If the edge is intended to be crisp, use a split stitch, backstitch, or a similarly neat outline before filling; if your pattern already has a strong edge, work right up to it. The point is to give the satin lines a wall to press against.
Then choose the stitch direction from the shape itself. For a leaf, run the stitches from tip to base or across the width, depending on the contour. For a petal, angle them so the flow follows the petal’s curve. The stitch lines should support the form, not cut across it at random.
Keep the needle entering and leaving on the edge lines so the stitches stack side by side. If you anchor too far inside the shape, the edge opens up. If you pull too hard, the fabric puckers and the line of stitches narrows. Pull only until the thread lies flat against the surface.
A strand count of 2 or 3 strands of embroidery floss is common for small satin stitch areas, while 4 to 6 strands can be used when the area is larger or the design calls for a fuller look. Fewer strands usually give more control and less bulk. More strands cover faster, but they also twist more easily and can make the finish look lumpy if the shape is tight.
If the thread starts to coil, let the needle dangle occasionally so the floss can untwist. That tiny pause can save a whole section from looking corded.
Numbered steps for filling a small shape cleanly
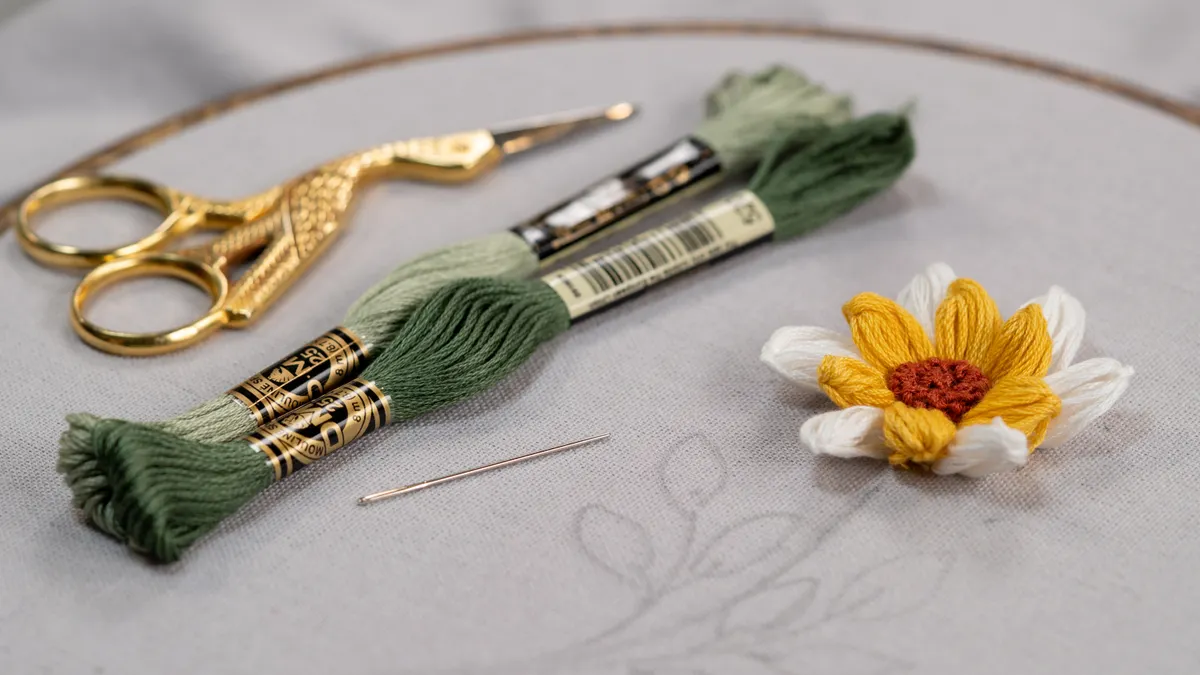
Use a firmly hooped fabric, a sharp needle, and enough embroidery floss to cover the shape in as few passes as possible without forcing the thread. The order below is a practical sequence that often helps reduce gaps and twisting.
- Mark the shape clearly and hoop the fabric so it stays taut when pressed. You should see a flat surface with no slack around the outlined area.
- Decide the stitch direction before making the first hole. You should be able to point to the way each stitch will run across the shape, not guess as you go.
- If the shape is slightly wider than a few millimeters, add a light padding underlay such as split stitch or a single layer of laid stitches. The area should look subtly raised, not padded like a cushion.
- Bring the needle up on one edge of the shape and take it down on the opposite edge, keeping the stitch just short enough to lie flat without spanning a huge distance. The first stitch should cover one clean lane of fabric.
- Bring the next stitch up immediately beside the first. The finished pair should touch, with no visible strip of cloth between them.
- Work steadily across the shape, adjusting the length to the contour. You should see a satin surface that appears even, with each stitch parallel to the others.
- When the shape tapers, shorten the stitches gradually instead of forcing full-width stitches into a narrow point. The tip should close without a fan-shaped gap.
- End by taking the needle to the back under a few previous stitches. The back should hold without knots stacked in one spot, and the front should keep its smooth line.
The most important thing in that sequence is the relationship between stitch length and shape width. If the stitch is too long for the area, the thread lifts, twists, and snags. If it is too short, the fill can look like crowded slivers. The sweet spot is a set of stitches that just meet edge to edge.
On curves, slightly fan the stitches from a common side so the surface follows the contour. On straight sections, keep them parallel. That one adjustment often decides whether the fill looks tailored or messy.
Why does satin stitch gap?
Satin stitch gaps because the fabric is not stable enough, the stitches are too far apart, or the shape is too wide for this stitch to cover gracefully. The problem is usually mechanical, not artistic.
The first cause is poor tension in the hoop. A loose surface lets the cloth shift between stitches, so the thread settles unevenly. As the cloth moves, a narrow strip of ground fabric can show between adjacent passes. Rehoop if needed rather than trying to hide the issue with tighter pulling.
The second cause is spacing. Satin stitch should land edge to edge. If the needle comes up too far from the previous line, the fill starts to stripe. That mistake is especially visible with a single solid color of floss, because there is no texture break to disguise it.
The third cause is shape size. Satin stitch is reliable on small and medium areas, but when a shape gets too broad, the long thread span can sag or twist. The exact width limit depends on the thread count, fabric, and design, but the warning signs are easy to spot: the center looks loose, the lines no longer sit parallel, or the surface starts to catch every time the piece is handled.
Padding underlay helps with minor gaps, but it is not magic. A satin fill over a weak outline or unstable fabric can still split open. Use underlay to support the face of the stitch, not to compensate for a bad layout.
If the gap is caused by a sharply tapering tip, change the stitch length as the shape narrows. A constant stitch length on a narrowing form forces the lines apart near the point. Shortening each stitch in steps closes the end neatly.
This is the point where a different fill may be smarter. For broad petals, large letters, or shapes with a lot of area, satin stitch can become the wrong tool. A denser fill or a layered stitch can look cleaner and wear better.
Padding underlay: when it helps and when it hurts
Padding underlay helps satin stitch when the shape needs a raised, opaque finish, but too much padding makes the edge bulky and can push the stitches apart. The trick is to add just enough height to support the top layer without creating a ridge that shows through.
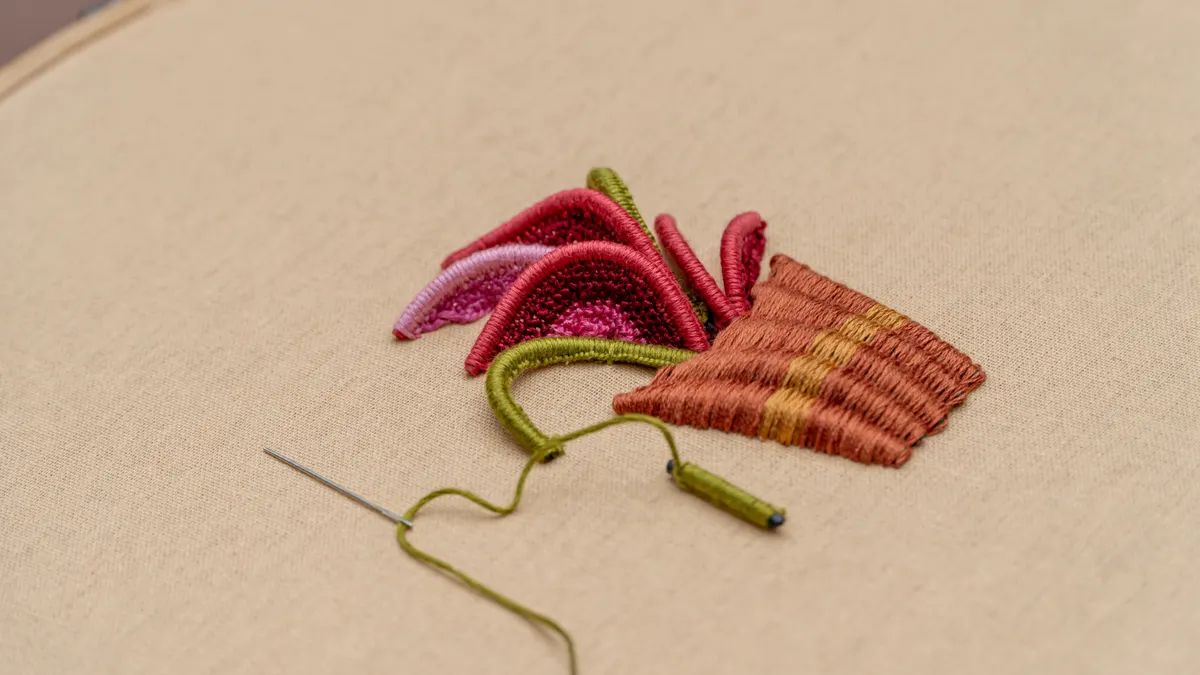
A common underlay is split stitch worked inside the outline. It gives the satin stitches something to grip and closes small pores in the fabric. Another option is laid padding: straight rows laid across the shape and covered by the satin layer. That works well on slightly larger areas that need extra body, especially when the top thread is fine.
Use padding when the fabric is textured, when the color of the ground cloth might show through, or when you want a more raised surface. Skip it on very small motifs, tiny points, or narrow stems. In those places, extra layers can crowd the shape and make the edges look swollen.
The trade-off is control versus height. More padding can make the surface look smoother from a distance, but it also increases the chance that the outer stitches slide instead of locking into place. If the edge becomes rounded like piping, the underlay is too heavy.
A useful habit is to test the look in a small section before committing to the whole shape. If the first few satin stitches already sit flat and opaque, more padding is unnecessary. If the fabric still flashes through or the center sinks, one more light layer may be enough. Stop before the shape looks overstuffed.
This is also where thread choice matters. Heavier embroidery floss covers faster, but it can hide a bulky underlay less neatly than a slimmer thread count. A 2- or 3-strand fill over light padding often looks cleaner than a thick 6-strand fill over a mound.
When satin stitch stops being the right choice
Satin stitch stops being the right choice when the shape is too wide, too long, or too irregular for parallel stitches to sit flat. In those cases, the fill may look striped, ropey, or loose no matter how carefully it is placed.
I would not use satin stitch for broad areas that need a uniform field of color across a large span. The longer the stitch, the more the thread can twist and catch. That does not make the stitch wrong; it makes it specific. It is meant for controlled fills, not for covering a wide landscape.
A good rule is to watch the shape’s narrowest and widest points. If the form pinches and opens dramatically, satin stitch can leave awkward triangles at the edges or a bulging center. If the outline has many dents, points, or turns, each change in direction forces the stitch to bend in a new way. That is where the finish starts to lose its clean edge.
The same caution applies to very delicate fabric. If the weave is loose or the cloth is prone to distortion, repeated long passes can spread the threads or leave visible holes. A firmer ground and a stable hoop help, but they cannot fully change the behavior of a weak fabric.
This is also where a strong outline matters. Satin stitch depends on the boundary, so if the outline itself is uneven, the fill will echo every flaw. A clean edge is not cosmetic; it is structural.
For more on the wider set of needlework methods that sit beside this one, see the hub on needlework stitches and technique. Satin stitch has its place there as a shaping tool, not as a universal filler.
Finishing touches that make the edge read clean
The edge reads clean when the last stitches are placed with the shape’s taper, the thread tension stays even, and the back is secured without pulling the front out of line. Finishing is where a careful fill either stays polished or gets disturbed.
If the shape ends in a point, reduce stitch length gradually as you move toward the tip. Do not jump from a long span to a tiny dab all at once. That sudden change leaves a visible notch. A stepped taper closes the point like a zipper, each stitch slightly shorter than the last.
For curved edges, angle the last few stitches to mirror the arc. If the curve tightens, the stitches should tighten with it. That is what keeps the fill from looking blocky.
When finishing off, run the thread under a few existing stitches on the back of the work and trim the tail close. Avoid stacking a knot at the edge of the filled area, because the bump can print through to the front. The front should remain flat after the thread is secured.
If the surface looks slightly uneven after stitching, resist the urge to overhandle it. Satin stitch can be nudged into place, but repeated rubbing can fuzz the floss or distort the shape. A light pass with the tip of the needle or a gentle smoothing motion is enough.
The best final check is usually visual: the fill should look like one continuous surface from a normal viewing distance, with no visible cloth peeking through and no obvious corded twist in the center. If it fails that test, the fix is usually to tighten the hoop, shorten the stitch span, or rethink the stitch direction rather than to force more thread into the same area.
How do you keep satin stitch smooth?
You keep satin stitch smooth by holding the fabric taut, placing each stitch directly beside the last, and choosing a direction that follows the shape’s outline. A 4-inch or 6-inch hoop helps the surface stay stable while you work. If the thread starts to twist, let it relax before continuing. The smoothest fills usually come from shorter, controlled stitches rather than long spans.
Why does satin stitch gap?
Satin stitch gaps when the fabric shifts, the stitches are spaced too far apart, or the shape is wider than satin stitch can comfortably cover. Loose hooping is often the fastest route to visible ground cloth. A light padding underlay can help, but it cannot fix a fill that is too wide or poorly planned. Rehooping and shortening the stitch span usually solve the problem.
Drafted with AI; not yet reviewed by a person.