Last updated: October 24, 2026
Quick answer: Keep the fabric taut, wrap the thread 1 to 2 times, and send the needle back in 1 to 2 fabric threads away from where you started. For more on stitch basics, see needlework stitches and technique.
A French knot stays put when the cloth is tight in a hoop, the needle re-enters near the starting point, and the thread is eased down slowly so the knot settles on top instead of getting dragged under. When knots slip or turn into lumpy blobs, the problem is usually wrap count, tension, or thread thickness. This guide to how to make a French knot that stays put uses the same method throughout. Twenty minutes, not two.
What you need before you start
You need embroidery floss, a needle with an eye that suits the thread, woven fabric, and an embroidery hoop at least 4 to 8 inches across. A sharp embroidery needle with a point small enough to pass through the weave cleanly usually gives better control than a blunt tapestry needle for this stitch. Choosing tools first saves frustration later. [Choose tools first.] If you are choosing tools, how to choose the right embroidery needle is a useful next step.
Use one strand or two strands of embroidery floss if you want compact knots. Three to six strands make a much larger knot and are more likely to look messy on fine fabric. [One or two strands work best.] For a tiny dot on linen or cotton, one or two strands is usually easier to control. For a bolder textured dot on canvas or denim, more strands can work, but the knot grows fast. On 2 strands, the knot stays smaller than on 6 strands. [The math adds up quickly.]
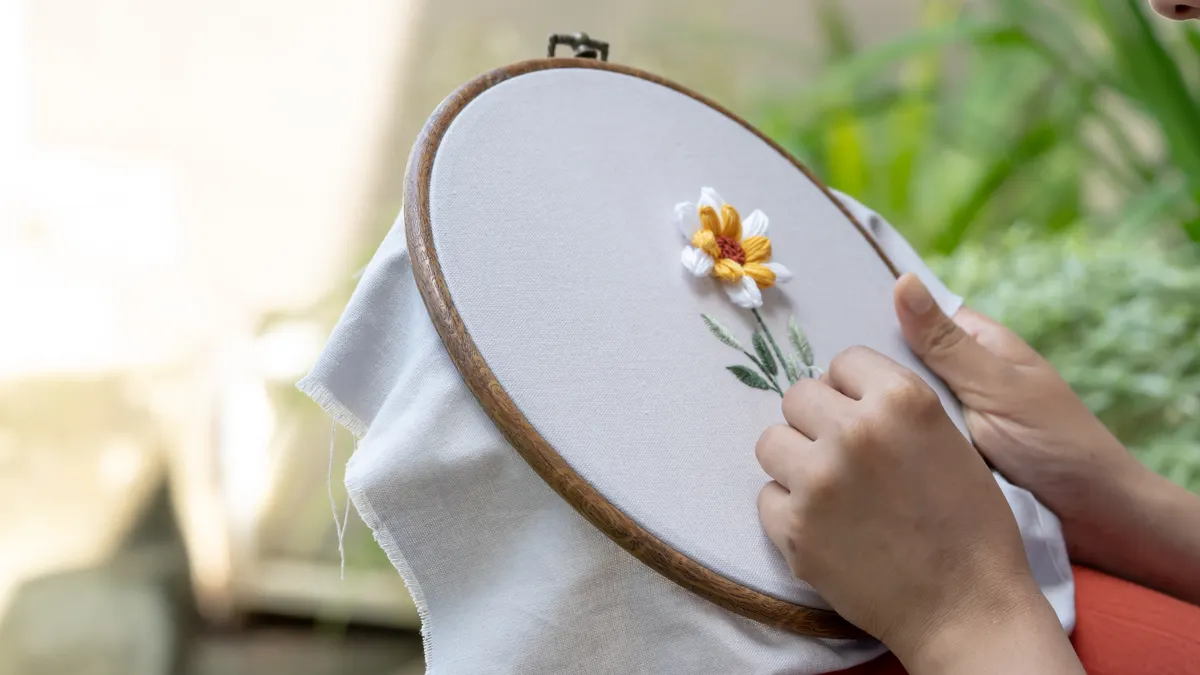
Stretch the fabric in the hoop until it sounds and feels taut, like a drum. Loose cloth is the main reason a French knot sinks into the fabric or leaves a loop on the back that later pulls the knot through. [Tight cloth holds better.] A firm hoop matters more than people expect. Tighten the screw before you begin if the fabric sags; after a knot fails, you are just chasing the problem. For hoop care, see how to use an embroidery hoop.
Choose a spot with enough room around it. A French knot sits best when the fabric has space, because crowded placement encourages knots to bunch together and merge into one blob. [Give each knot room.] Give it breathing room.
How to make a French knot that stays put
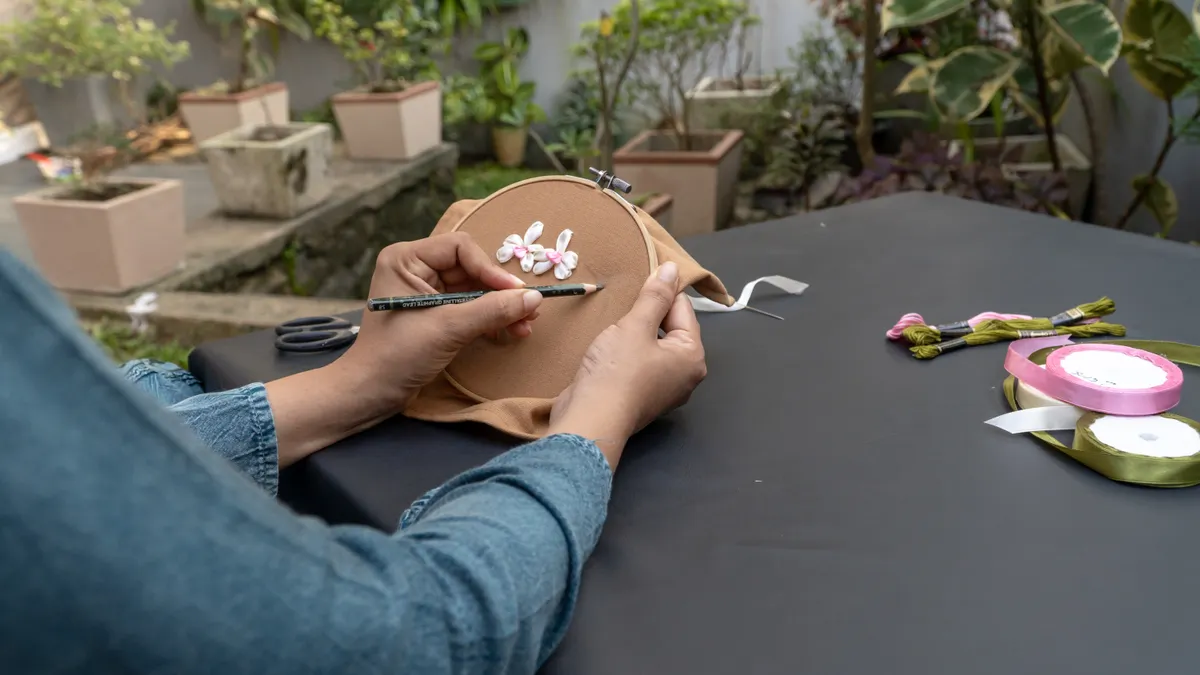
A French knot stays put when you anchor the thread, wrap it the same number of times, and bring the needle back beside—not through—the original hole.
- Bring the needle up from the back at the exact point where you want the knot to sit. You should see a single thread rising cleanly from the fabric with no slack.
- Hold the working thread with your non-dominant hand about 1 to 2 inches above the fabric. That grip keeps the tension steady and stops the wrap from loosening.
- Wrap the thread around the needle 1 or 2 times for a small knot, or 3 times if you want a slightly larger dot. The wraps should sit neatly beside one another, not twist into a tangle.
- Keep holding the thread snug against the needle as you take the needle tip back down into the fabric very close to the first hole, usually just 1 to 2 fabric threads away. The needle should not go back through the same opening.
- Pull the needle and thread through slowly while still holding the wrapped coil. The knot should slide down the needle, settle on the surface, and lock into place without disappearing into the weave.
- Let go only after the knot has formed on the surface. You should see a compact nub with a short tail leading back into the stitch path, not a loose loop or a flattened tangle.
That final move is the one that matters most: the needle goes down beside the entry point, not through it. That tiny shift keeps the knot from falling through. If the knot drags under the cloth, the fabric is usually too loose, the wrap is too bulky, or the needle was reinserted too close to the original hole and slipped through the same opening.
For a cleaner finish, keep the needle at a slight angle as it re-enters the fabric. A straight plunge can shove the wrapped thread out of position. A controlled angle gives the knot time to settle on the surface before the thread tightens.
Need a broader map of stitch families and where French knots fit? The hub on needlework stitches and technique is the right place to go next.
Why do French knots pull through the fabric?
French knots pull through the fabric when the hole is too large, the fabric is too loose, or the thread is wrapped too heavily for the weave.
This problem usually shows up on open-weave linen, soft knits, or any cloth that is not held taut in a hoop. The knot may look fine for a second and then vanish to the back as soon as the thread is pulled snug. Wide weave, thin grip; that is where things go sideways.
A few changes fix most of these failures. First, tighten the fabric in the hoop before you stitch. Second, use fewer wraps—often 1 or 2 is enough on medium-weight cotton. Third, separate the entry and exit points by a fraction of an inch rather than crowding the same hole. That small spacing helps the knot seat on the top fibers instead of slipping through the opening. A 1- to 2-thread offset is usually enough on woven cloth.
Thread choice matters too. Thick embroidery floss can create a knot that is too bulky for fine fabric, especially when you use 4, 5, or 6 strands. On light cotton or linen, a slimmer knot made with fewer strands is often more secure and looks sharper. If you want a fuller dot, make several smaller French knots close together instead of forcing one oversized knot. When the fabric is delicate, a professional embroiderer can help you test the best strand count.
One trade-off is that very small knots can be secure but less visible from a distance. That is the right compromise on delicate fabric. A larger knot may look tempting, but size alone does not make it stronger. On a loose weave, bigger often fails faster. If visibility matters, consult a professional or test a sample first.
How many times should you wrap a French knot?
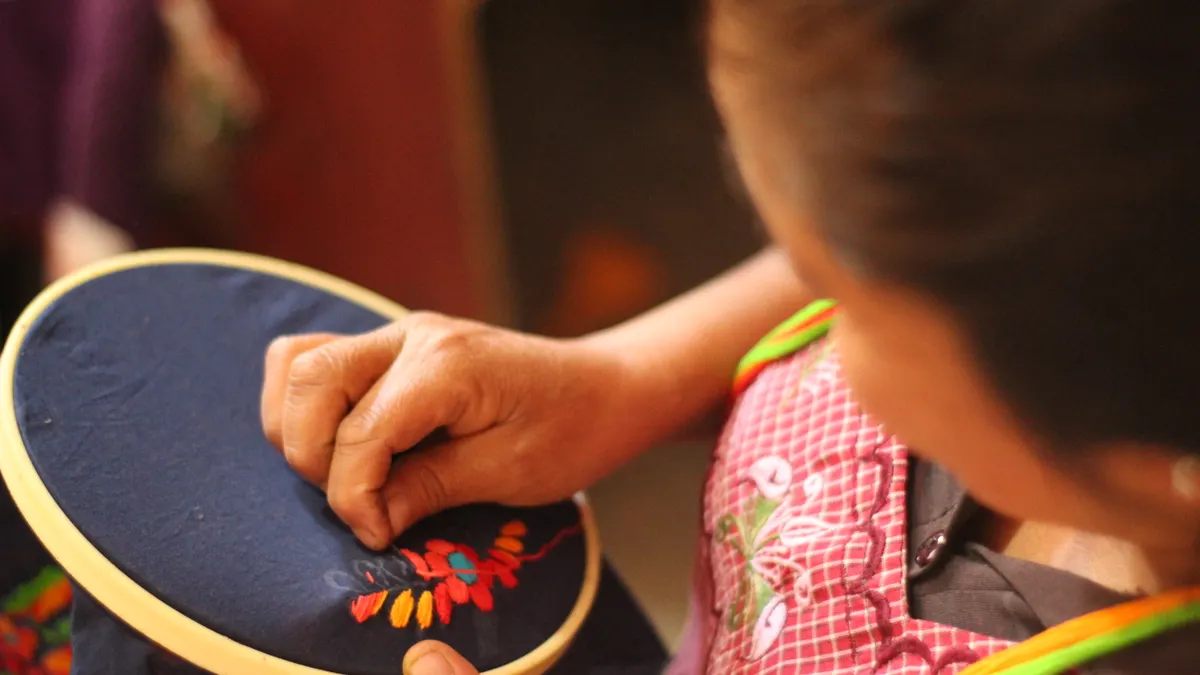
You should wrap a French knot 1 or 2 times for the most reliable result, and 3 times only when you want a larger knot on firm fabric.
The wrap count changes both the size and the risk of the knot. One wrap makes a tiny, tidy dot that is less likely to snag or sink in. Two wraps make a classic French knot that reads clearly on most embroidery cotton and medium-weave fabric. Three wraps create more volume, but they also make the knot harder to seat neatly and more likely to look like a coil if the thread is too thick.
“Just wrap it until it looks right” sounds helpful, but it causes trouble because the knot changes fast with the thread weight. Two strands of floss with two wraps will behave very differently from six strands with two wraps. The heavier the thread, the faster the knot grows. On fine cotton, 2 wraps with 2 strands often gives a cleaner result than 4 strands with 1 wrap.
If the knot becomes messy or oversized, reduce one variable at a time. First, cut the wrap count by one. If that still looks bulky, switch to fewer strands. If the knot still sits poorly, check the hoop tension and the spacing of the return point. The goal is a compact knot with a visible dome, not a puffball.
There is one limitation worth stating plainly: French knots are not the best fit when you need exact, identical beads of texture across a large area. They are hand-made by nature, so small variation is normal. If absolute uniformity matters, another stitch or technique may suit the job better.
Keep the knot neat instead of bulky
A neat French knot comes from smooth wrapping, steady tension, and the right scale for the fabric.
Hold the working thread with enough tension to guide it, but not so tightly that it twists on itself. If you pinch too hard, the wraps stack unevenly and you get a lopsided knot. If you hold too loosely, the wraps spread apart and the knot may loosen before it seats.
Keep the wraps close together and wind around the needle shaft, not the tip. The eye and point of the needle can catch the thread differently, which makes the knot uneven. The wraps should look like a short, tidy spring on the needle. If they splay out, unwind and try again rather than forcing a bad wrap through the fabric.
The angle of the needle also matters. When the needle goes back down, it should land just beside the first entry point, not far away. Too much distance makes the thread span the gap and can leave a messy loop. Too little distance increases the chance of slipping through the same opening. A tiny offset—roughly 1 to 2 fabric threads on woven cloth—is often enough.
If you are making many knots for flowers or centers, stitch them in a loose cluster rather than packing them shoulder to shoulder. Crowding gives each knot less room to lock into the weave. Space also helps the knot keep its round shape instead of flattening into a ridge.
This stitch is not ideal for fuzzy, slippery, or stretchy fabrics without stabilizer. Jersey knit, for example, can deform under the pull of the thread, and the knot may sit unevenly even when the steps are correct. That does not mean it is impossible, only that it is less forgiving than stable cotton or linen. A stabilizer or test swatch can help before you commit to the final piece.
Where to place the knot so it holds
A French knot holds best when it lands on firm, evenly woven fabric and away from loose edges, thick seams, or already crowded stitching.
Place the knot in an area where the fabric can support the thread from behind. Near a seam allowance, hem, or bulky intersection, the needle may have trouble re-entering cleanly and the knot can tilt or pull off balance. Flat ground fabric gives you the cleanest result.
If you are building a motif, plan the placement before you begin. A single knot as a flower center can sit almost anywhere. A group of knots for eyes, berries, or texture works better if you mark the spots first with a washable fabric pen or light pencil line made for fabric. Marking keeps the knots from drifting as you stitch.
For close clusters, work from the outer edge inward or from one side to the other so the thread path stays clear. If you jump randomly between knots, the loose thread on the back can catch and tug earlier knots out of shape. On the front, the cluster may also start to look uneven because some knots sit higher than others.
If you want the knot to stay low and even, avoid placing it directly over a heavy underlayer of thread. A thick satin stitch or dense fill beneath the knot can make it ride high and wobble. Flat base fabric is the safer choice.
Alternatives to French knots when this stitch is not the best fit
Small seed stitches, detached chain knots, or tiny satin stitches can replace a French knot when the fabric or thread makes the knot unreliable.
Use an alternative when you want texture but not the raised nub that a French knot creates. Seed stitches give a scattered dotted effect with less bulk. Tiny satin stitches work better when you want a small leaf, eye, or elongated highlight rather than a round dot. Detached chain knots can create a looped texture that is easier to control on some fabrics.
Choose something else if the fabric is very loose, stretchy, or very fine. A French knot on a delicate silk-like weave can be frustrating because it may pull through even when the method is sound. In that case, a flatter stitch may sit more securely and still give the visual effect you want, but it is worth testing first or asking a professional for advice.
The trade-off is texture. French knots are excellent when you need a raised, tactile point. They are less ideal when you need speed, perfect uniformity, or a flat surface that lies under glass or another layer. They are also slower than many simple stitches, especially if you need dozens of them.
If the design depends on a lot of small dots, a French knot is still worth learning because it gives a distinct look that other stitches do not mimic exactly. But if the job is purely decorative and the knots keep misbehaving, switching stitches is often the smarter move.
A quick troubleshooting check before you stop
A French knot is finished correctly when it sits on top of the fabric, holds its round shape, and does not loosen when you tug the thread gently from the back.
If the knot slips through, tighten the hoop, reduce the wrap count, and move the return point a fraction farther from the entry hole. If the knot turns messy, reduce the number of strands or wraps before you change anything else. If the knot looks too large, scale down the thread rather than forcing a smaller wrap count to compensate for a heavy bundle.
The simplest test is visual: the knot should read as a small raised dot with no visible loop around it. If you see a twisted collar or a flattened mound, the wrap was probably uneven or the thread was pulled too quickly. A clean knot usually takes less force than people expect.
French knots reward a narrow set of choices done well. Tight fabric, controlled wraps, and a careful re-entry point solve most problems without guesswork. Once those three are in place, the stitch becomes repeatable instead of fussy. For a broader refresher on setup, see how to use an embroidery hoop and how to choose the right embroidery needle.
Key takeaways
A French knot stays secure when the fabric is taut, the wrap count is modest, and the needle returns beside the start point instead of through the same hole. Small adjustments matter more than brute force. [Keep the hoop tight.] If the knot is slipping, shrink the wrap or firm up the hoop; if it is bulky, reduce the thread or the number of wraps. When in doubt, consult a professional and test on a scrap first.
Why do french knots pull through the fabric?
French knots pull through when the weave cannot grip the knot tightly enough. Loose fabric, a large starting hole, too many strands, or too many wraps all make the knot easier to sink. Tightening the hoop and moving the return point just off the original hole usually helps more than pulling harder. A 1- to 2-thread offset is often enough on woven fabric.
How many times should you wrap a french knot?
One or two wraps is the safest range for most embroidery work. Three wraps makes a larger knot, but it is harder to keep neat and more likely to slip on fine fabric. The right count depends on thread weight, weave, and the size of knot you want.
can beginners learn french knots?
Yes, beginners can learn french knots with a hoop, a needle, and a bit of patience. The stitch is fussy at first because the hands have to hold tension while the needle moves, but the motion is simple. Starting with medium-weight cotton and 2 strands makes the learning curve easier.
Drafted with AI; not yet reviewed by a person.