Last updated: October 22, 2026
Key Takeaways
- Pick a design that fits a 5 x 7 inch or 4 x 6 inch area, so a first project teaches counting without becoming a long chore.
- You only need a chart, aida cloth, floss, a tapestry needle, and scissors.
- The chart works like a grid, so keeping your place matters more than stitching fast.
- Counting stays easier when you start from one point, work in 2s or 5s, and check before color changes.
A first cross stitch project works best when it stays small, simple, and easy to count. That combination keeps the thread waste low; it also keeps the learning curve from turning into a knotty mess.
Start with a project that is small enough to finish
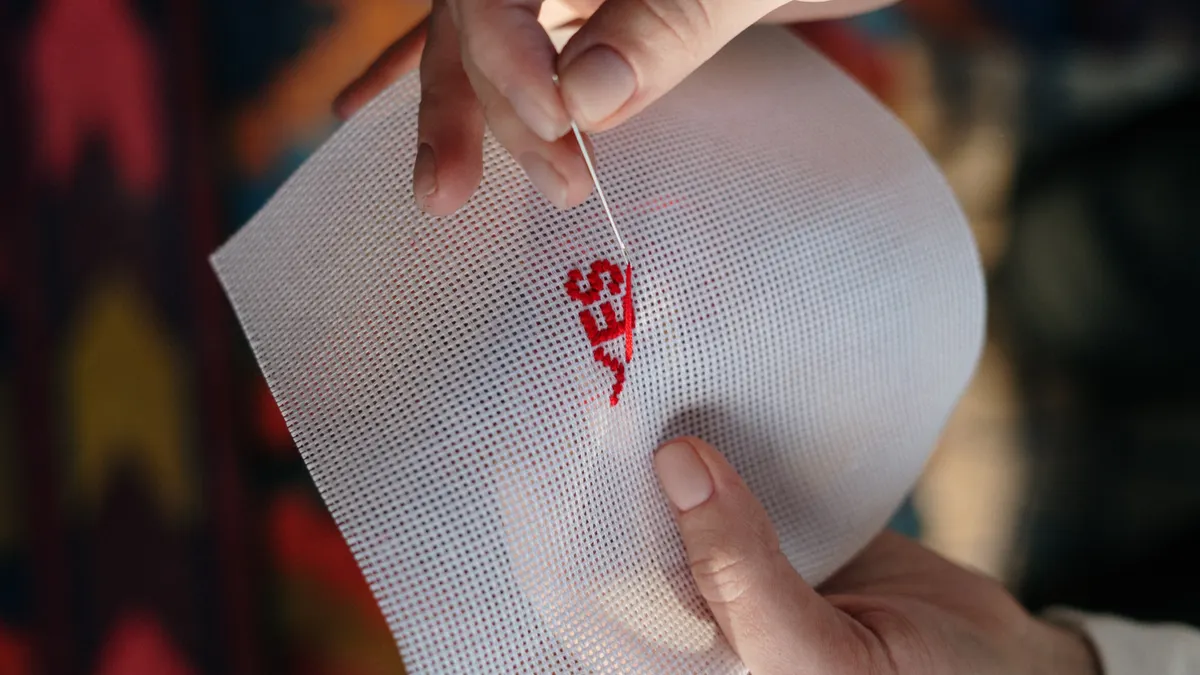
Choose a design that fits in a 5 x 7 inch or 4 x 6 inch area. A first project should teach counting, not become a long-term chore. Tiny motifs, a single word, or one clean icon usually beat a sampler loaded with color changes, partial stitches, or backstitch outlines.
Honestly, I would skip anything that calls for metallic thread, specialty stitches, or more than 3 or 4 floss colors on the first try. That kind of pattern can swallow a beginner whole.
The point is not to impress anyone. It is to finish something while you are still learning tension, straight rows, and how to read a chart without losing your place. A beginner who starts with a 20 cm square pattern full of confetti stitches often spends more time fixing mistakes than stitching. That math stops working fast.
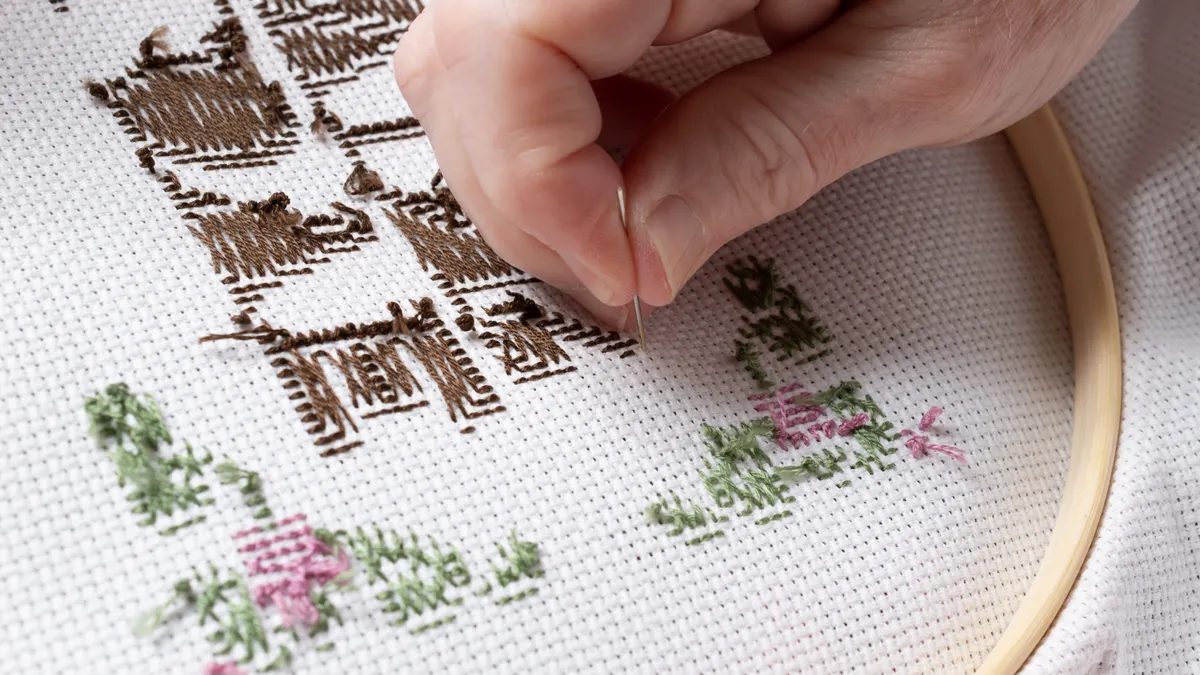
Aida cloth is the easiest starting fabric because its woven squares make the holes easy to see. For a first project, 14-count aida is the most forgiving choice for many beginners, while 16-count gives a slightly finer finish once counting feels steady. The “count” is the number of holes per inch, so a higher count means smaller stitches and a smaller finished design.
Cross stitch project types and patterns matter here, too. A simple beginner chart should have one clear center, a limited color palette, and a layout that is easy to mark off as you go. If the design looks busy when you zoom in, it will feel busy in your hands.
What do you need before you make your first stitch?
You only need a cross stitch chart, aida cloth, embroidery floss, a tapestry needle, and a pair of scissors. Those five items cover the first project without extra tools, machines, or expensive kits. If you already have a hoop or Q-snap frame, that can help keep the fabric steady, but it is not required for a small beginner piece.
A tapestry needle is the right needle because it has a blunt tip and a larger eye for embroidery floss. For 14-count aida, many stitchers use a size 24 tapestry needle; for 16-count, a size 26 often feels more natural because it passes through the holes more easily. Sharp points are not the goal here — control is. A sharp needle can split the fabric threads and make the surface look messy. For tool guidance, see the DMC needle guide and needlework basics from The Spruce Crafts. DMC and The Spruce Crafts.
Embroidery floss is usually six-strand cotton thread. Most cross stitch patterns use only 2 strands for 14-count or 16-count aida, which keeps the Xs full without making the fabric buckle. If the chart gives a different strand count, follow the chart. If it does not, 2 strands is a practical starting point for most beginner pieces.
A cross stitch chart is a grid map, not a picture to trace by eye. Each square represents one stitch, and symbols or colors tell you which floss color goes where. The chart is your source of truth. Fabric, floss, and needle are tools; the chart decides placement.
A small needle minder, a magnet, or even a paperclip can help hold your place, but none of those is essential. A beginner can finish a first piece with almost no extras. That matters because too many tools make the project feel harder than it is.
How do you read a cross stitch chart?

Read the chart one symbol at a time, and count from the center or an edge exactly as the pattern tells you. The chart is a coordinate system, so the main skill is not sewing speed; it is keeping your place.
Start by finding the chart center if the design is centered. Most patterns mark the middle with a heavy line, arrows, or a bold square. Then find the center of your aida cloth by folding it in half vertically and horizontally, or by counting the fabric squares. That keeps the design from drifting off to one side.
The symbol key tells you which floss color each mark uses. One symbol might mean red, another black, and another pale green. If two symbols look close, mark them carefully on the chart before stitching. Some beginners rely on color names alone and miss the symbol differences, which leads to stitching the wrong color in the wrong place.
A good habit is to mark completed stitches with a pencil on a photocopy or with a digital pattern app if the chart allows it. That saves time and reduces double counting. Do not mark on the original chart if you want to reuse it or keep it clean for later projects.
Starting wherever your eye lands first feels quicker. It is not. That habit creates counting errors that spread through the design. A 10-minute start with clean counting is faster than an hour of unpicking.
For a beginner, a safer rule is to stitch in one small area, then move outward in measured counts of 1, 2, 3, or 5 squares. Do not jump randomly across the fabric unless the pattern is broken into tiny isolated spots. Even then, a pencil or highlighting system helps.
How to count stitches without losing your place
Counting stitches gets easier when you work from a fixed point, count in blocks of 2 or 5, and stop to check your placement before every color change. Most beginner mistakes come from guessing instead of counting. The cloth grid looks regular, but one missed square can shift an entire row.
Here is a simple first-project method:
- Find the center of the fabric and the center of the chart, then line them up before stitching a single X. This gives you a reference point that keeps the design centered on the cloth.
- Thread the needle with 2 strands of embroidery floss for most 14-count aida projects, then start with a short tail or a loop start if your pattern allows it. A neat start keeps the back from getting bulky.
- Stitch a small block of 4 to 10 stitches in one color first, rather than jumping between scattered dots. A compact area makes counting easier and gives you a visible landmark.
- Count each new stitch from the last completed square, not from memory. If a line should run 6 stitches to the right, count 1, 2, 3, 4, 5, 6 before bringing the needle up.
- After every few stitches, compare the chart to the fabric and check that the symbols line up exactly. This catches a shift early, when it is still easy to fix.
- Finish a color block before moving to the next one if the chart allows it. That keeps thread changes limited and reduces the chance of mixing up symbols.
The hardest part is resisting the urge to “just eyeball” one stitch. Eyeballing works on the last row of a very simple design, but it is a bad habit for the first project. If the pattern has a diagonal line or border, count each square rather than assuming the line will correct itself later.
Beginner stitchers also tend to count the holes in the fabric instead of the squares they create. That sounds small, but it causes confusion. On aida cloth, the stitch sits over the fabric squares formed by the weave. Think in completed Xs, not raw holes.
Lose your place? Stop and trace back from a known stitch or from the center mark. Two minutes of rechecking is cheaper than taking out 20 stitches.
How do you start and end thread neatly?
You start and end thread neatly by anchoring it without knots, keeping the back flat, and trimming tails close to the stitches. Knots can create lumps on the back of a small beginner project, which makes framing or finishing harder later.
For the start, the cleanest beginner method is often the loop start, but only when you have an even number of strands and the pattern allows it. With 2 strands of floss folded in half, you can bring the loop through the back and secure the first stitch without a knot if the pattern setup allows it; if you are unsure, consult a professional or follow the kit instructions. If you are using an odd number of strands or a different setup, a small waste knot at the front and later tucking the tail works too, though it is less elegant. For stitch-start methods, see DMC and EGA guidance. (Source: DMC and EGA)
For ending, run the needle under 3 to 5 completed stitches on the back, then trim the tail close. That locks the thread in place without tying a knot. Keep the tail flat and avoid pulling so hard that the front stitches distort. If the back starts to look lumpy, the thread is too long or the tails are being trapped under too few stitches.
A beginner often overthreads the needle with too much floss. That slows the work and twists the thread. A length of about 18 inches is a practical starting point because it is short enough to manage and long enough to avoid constant rethreading. If the floss starts fraying, trim a fresh length rather than fighting the worn ends.
There is a trade-off here. Neat starts and ends take a little more time than quick knots, but they make the finished piece easier to mount, frame, or turn into a small gift. For a first project, that matters more than speed. A clean back is not a rule for vanity; it is a sign that the stitches are anchored well.
Choosing fabric count without making the first project harder
Choose 14-count aida if you want the easiest first start, and move to 16-count only if you are comfortable with slightly smaller stitches. That choice affects the look, the size, and the amount of counting, so it is not a small detail. A beginner who chooses very high-count fabric too soon often struggles with eye strain and tiny placement errors.
On 14-count aida, each stitch is visibly larger, which makes it easier to see where the needle enters and exits. That helps while you are still learning how a completed X should sit on the cloth. On 16-count, the design becomes a little more refined, but the holes are less forgiving if your lighting is poor or your hands shake after a long session.
If the pattern says it is designed for one count of fabric, use that as the default. The finished size changes when the fabric count changes, and the chart may look crowded or sparse if you ignore that. A design meant for 14-count aida will finish smaller on 16-count. That may still be fine, but it changes the proportions.
Do not choose the highest count because it sounds more advanced. A first project needs easy visibility more than tiny detail. The wrong fabric count can make a simple pattern feel like a puzzle with too many pieces. A very large design on 11-count aida can also be fine, but it may look chunkier than some beginners expect.
This is where beginner judgment matters. If your chart is full of single isolated stitches, a lower count fabric can make those spots easier to place. If the design uses fine lettering or delicate detail, you may prefer 16-count later, after your counting is steady. The right answer is not the “best” fabric in the abstract; it is the one that lets you finish the first piece cleanly.
The mistakes that slow beginners down most
The most common beginner mistakes are starting with too much design, miscounting from the wrong point, using the wrong strand count, and pulling the thread too tight. Each one creates a different kind of problem, and each one is avoidable with a smaller first project.
Starting too big costs time and morale. A dense pattern with 10 colors and lots of isolated stitches can turn a first project into an accounting exercise. The fix is simple: choose a design with one clear subject, few color changes, and a chart you can read at a glance.
Miscounting costs accuracy. One wrong square can shift a border or a face shape. The fix is to count in blocks, check the chart after each small section, and stop before the mistake spreads.
Using too many strands costs neatness. Thick stitches crowd the fabric holes and make the back bulky. The fix is usually 2 strands on 14-count or 16-count aida unless the pattern says otherwise.
Pulling the thread too tight costs shape. The fabric puckers, and the Xs stop lying flat. The fix is to let each stitch rest on the cloth surface with just enough tension to lie smooth. Tighten only until the thread sits in place, not until the fabric wrinkles.
One more honest limitation: cross stitch is not the right first needlework project for someone who wants instant speed. It rewards patient counting more than fast hands. If the goal is to finish a piece while learning a structured craft, it fits well. If the goal is freeform creativity with no chart, this is the wrong place to start.
For more structure after the first piece, the hub on needlework project types and patterns can help you compare what to try next without jumping to a harder design too early.
What your finished first project should look like
Your first project should look even, centered, and clearly readable, even if it is not perfect. Small irregularities are normal; a beginner piece should be judged by clean counting and steady stitches, not by showroom polish.
Check three things when you finish. First, the design should sit where you intended on the fabric, with enough margin around the edges for finishing. Second, the stitches should all lie in the same direction if the pattern expects that. Third, the back should be tidy enough that it does not create bumps through the front. None of that requires perfection, only care.
If one area looks off, do not assume the whole project is ruined. A single miscounted square in a small motif can often be fixed by removing a few stitches and redoing them. On the other hand, if the mistake is buried in the middle of a dense section and the front still looks balanced, it may be smarter to leave it. A first project is for learning judgment as much as technique.
The best sign that you chose the right beginner project is that you can explain where every stitch came from. If you can point to the chart, count the cloth, and understand why the stitch sits where it does, you have learned the core skill.
Drafted with AI; not yet reviewed by a person.