Last updated: October 24, 2026
Key Takeaways
- Backstitch forms a steady line when each stitch overlaps the last by about half its length.
- Use fabric, embroidery floss, a needle, a pattern line, and a clear transfer method.
- Start at the beginning of the pattern line.
- Keep curves and corners even by shortening stitches and matching the turn.
A backstitch cleanly for outlines and seams is a good choice when you want a line that looks continuous, holds its shape on curves, and reads clearly along a pattern line. In this guide to how to do a backstitch cleanly for outlines and seams, the clean result comes from keeping the stitch length even, placing each needle entry close to the previous exit, and controlling thread tension so the line lies flat instead of puckering.
What backstitch should look like on fabric
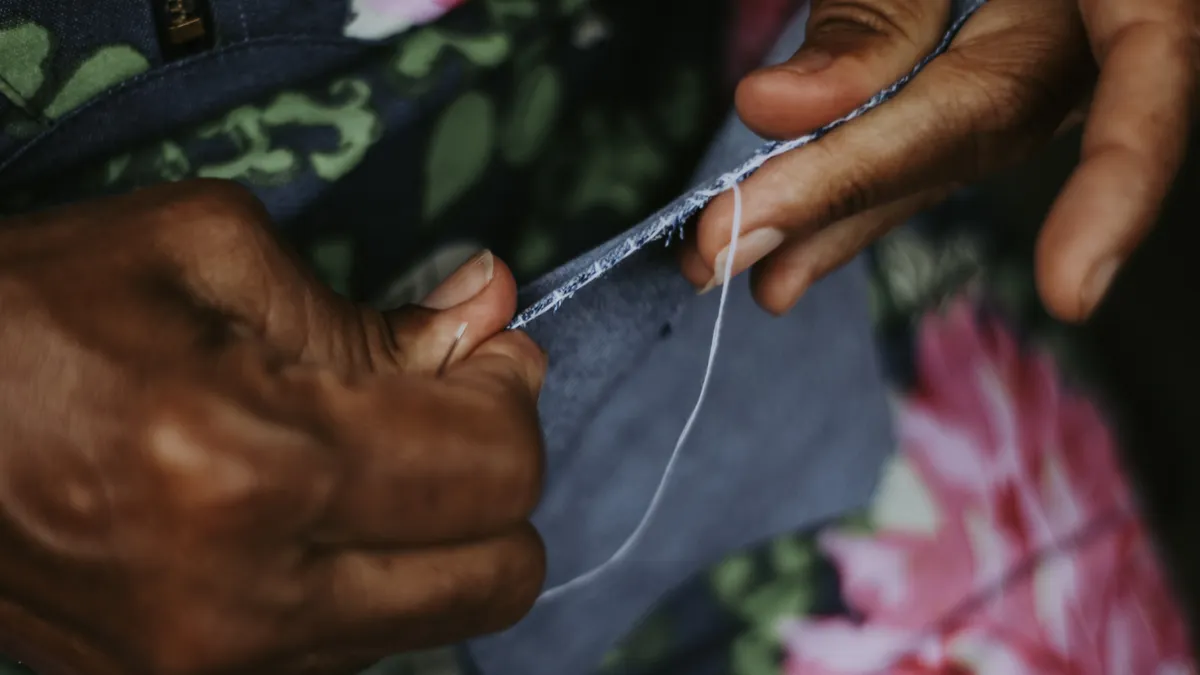
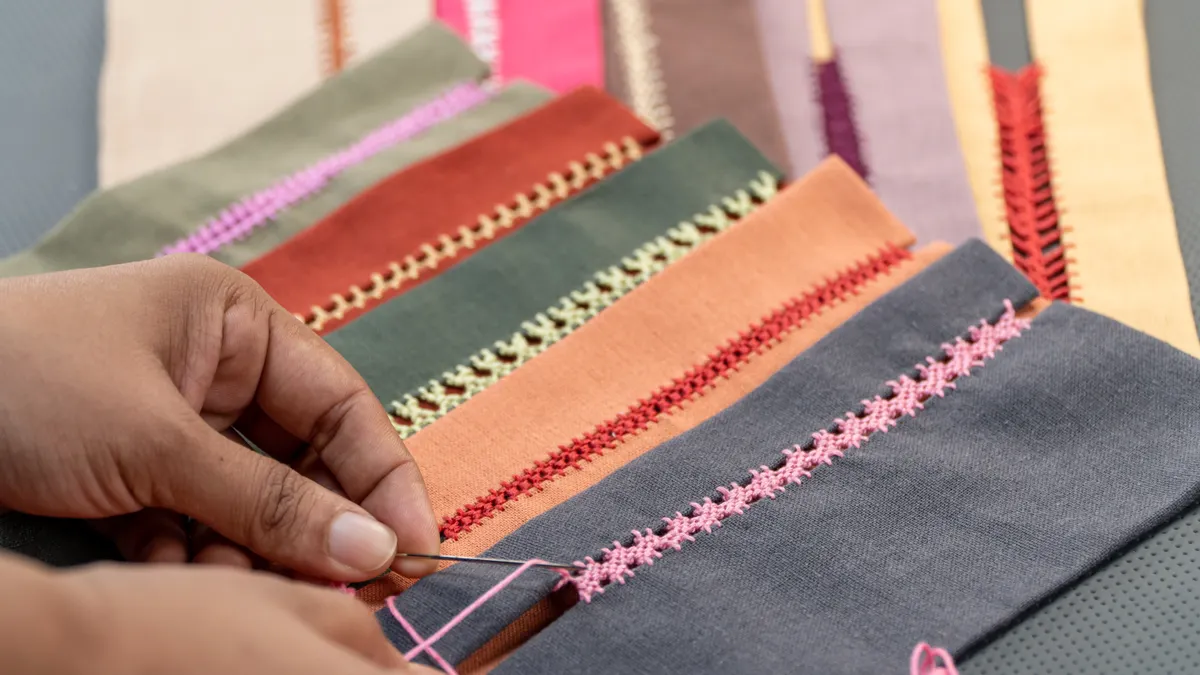
Backstitch should look like a steady, continuous line with each stitch overlapping the last by about half its length. On woven fabric, the front side shows a nearly unbroken outline; the back side shows a line of small, tidy overlaps that can look denser than the front.
The clean look depends on three things: stitch length, placement, and tension. If the stitch length drifts from 2 mm to 5 mm in the same line, the outline starts to wobble. If each stitch lands too far from the previous exit point, gaps appear. If the embroidery floss is pulled too hard, the fabric draws in and the line kinks at turns.
This stitch suits outlines, lettering, seams that need strength, and any pattern line that must stay crisp. It is a practical choice for a decorative edge that needs definition, but it may not suit a look that should feel especially airy or sketchlike. It also asks for more patience than a running stitch, because each stitch needs to land deliberately rather than by rhythm alone.
If the goal is an even outline on curves, corners, and junctions, backstitch is the tool to reach for. The hub on needlework stitches and technique can sit above this page as the broader map, but this page stays on the line itself. For a quick comparison, the running stitch page shows where the two techniques differ.
What you need first
You need fabric, embroidery floss, a needle, a pattern line, and a way to transfer that line clearly enough to follow. For most light to medium fabrics, a sharp hand-sewing or embroidery needle and 2 strands of six-strand embroidery floss are enough to start.
A clear pattern line matters more than people expect. If the line is faint, the stitch will drift. If it is heavy and dark, it may show through the finished outline. Use a marking method that suits the fabric and can be removed or hidden later. The line should be visible at arm’s length, not just under bright light.
Thread the needle with a short length of floss, usually about 18 to 20 inches. Longer thread tangles more, abrades more, and twists as you stitch. A shorter length feels less efficient, but it gives cleaner results, especially on curves where you need to stop and reset often.
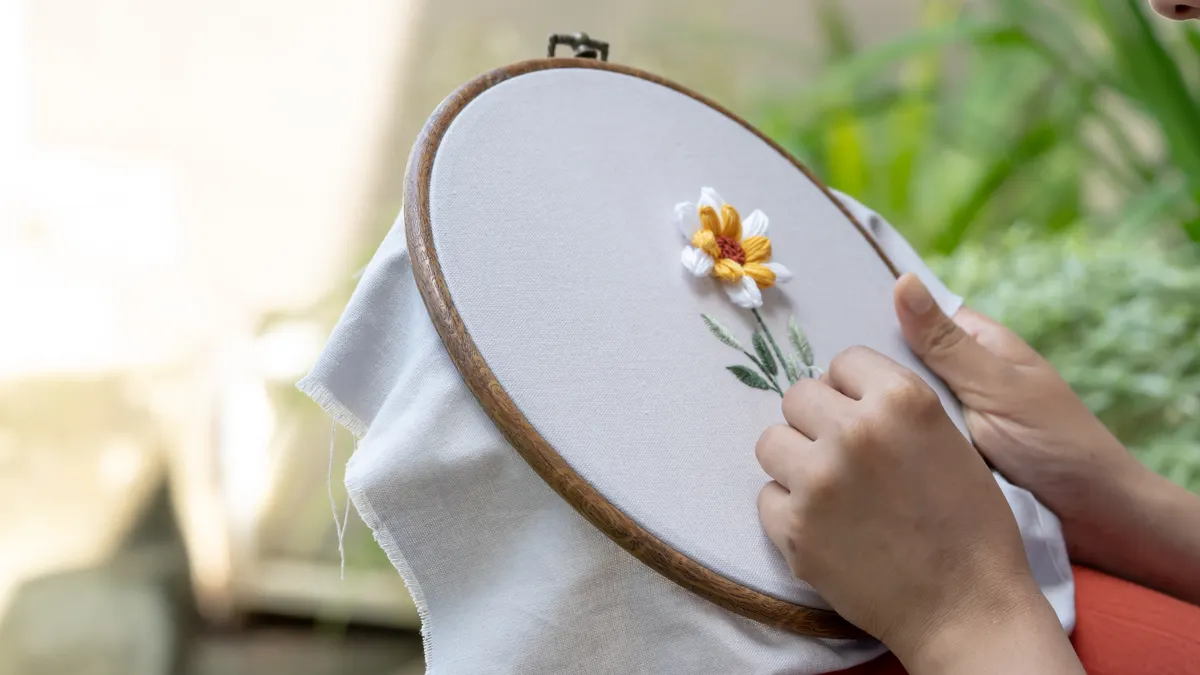
Use a hoop if the fabric relaxes under your hand. Tensioned fabric is easier to keep even, and the stitches sit more predictably. If the fabric is already stiff, flat, or thick, a hoop may not help much, but a stable work surface still does. For setup basics, see the embroidery hoop guide and the hand-sewing needles guide.
How do you do a backstitch step by step?
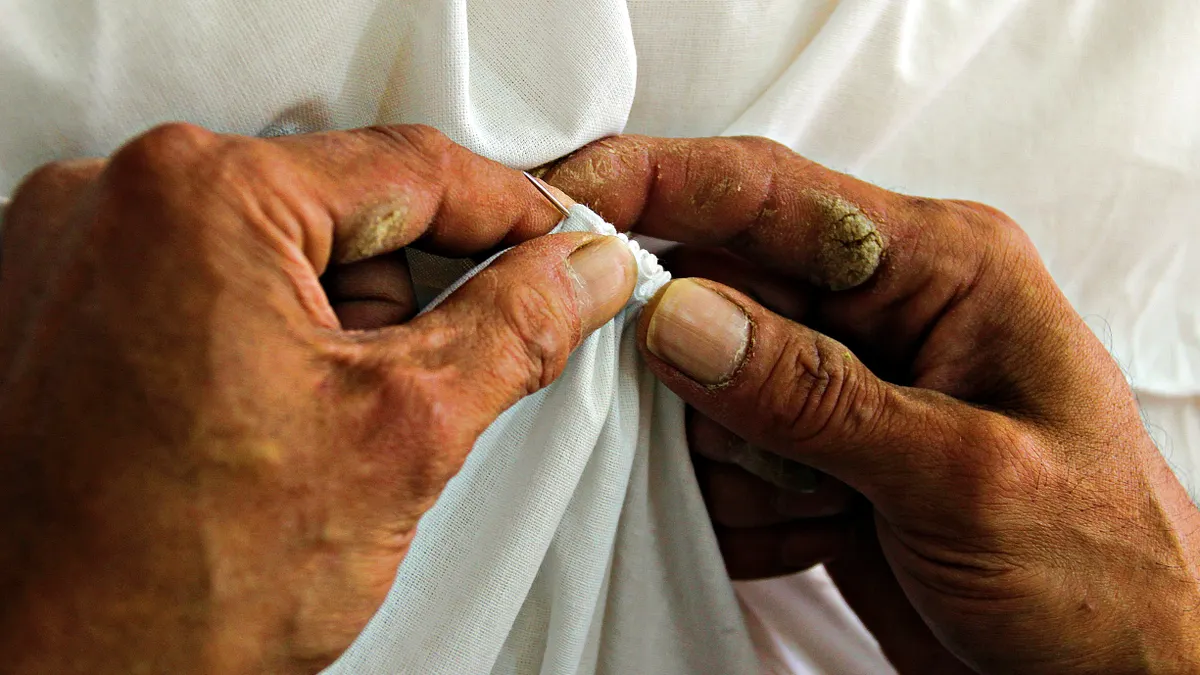
You make a backstitch by bringing the needle up ahead of the line, going back into the previous exit point, and repeating that overlap all the way along the pattern line.
-
Bring the needle up at the start of the pattern line. Come up on the line itself, or just beside it if the fabric is loosely woven. You should see one clean starting point and no slack loop on the front.
-
Move the needle forward by a short, even distance. For a fine outline, aim for about 2 to 3 mm per stitch; on heavier fabric, 4 mm can still look tidy. The first gap sets the rhythm for the whole line.
-
Take the needle back down at the starting point. This closes the first stitch and anchors the line visually. The front side should now show one neat segment, not a loose loop or a large jump.
-
Bring the needle up again one stitch length ahead of the last exit point. This is the key move in backstitch: the needle comes up in front, not beside, the previous hole. The line should begin to look connected rather than dotted.
-
Insert the needle back into the end of the previous stitch. This overlaps the stitches and removes the gap that a running stitch would leave. If done cleanly, the front forms a solid-looking line, and the back shows evenly stacked overlaps.
-
Repeat the same spacing along the entire line. Keep the forward distance and the backward return distance consistent. A steady rhythm gives a line that looks machine-neat without needing actual machine stitching.
-
Stop before the last point and finish with a short final stitch if needed. At the end of a line, the final segment should meet the end cleanly rather than overshoot it. The line should end on the pattern point, not beyond it.
If the line begins to look jagged, pause and check whether the stitch length changed. One uneven stitch can pull the eye immediately, especially on a simple outline. For a visual walkthrough, the stitch sampler page can help reinforce the sequence.
How do you keep backstitch even on curves and corners?
You keep backstitch even on curves and corners by shortening the stitches slightly and placing each return point so the line follows the shape instead of fighting it. On a tight curve, smaller stitches usually look better than long ones, because long stitches bridge over the turn and leave a faceted edge.
On a gentle curve, shorten each stitch to about 2 mm and aim the next stitch so it lands just ahead of the curve’s direction, not straight across it. The line should arc smoothly without sharp angles. If the curve starts to flatten or kink, the stitches are too long for the radius of the turn.
At corners, stop one stitch before the point if needed, then make a shorter stitch that reaches the corner cleanly. After that, turn the work or your hand so the next stitch leaves the corner in the new direction. The corner should read as a crisp change in direction, not a lump of thread.
Junctions need the same discipline. Where one line meets another, do not crowd the point with extra stitches unless the pattern calls for it. A crowded junction can look thick and muddy. Instead, let one line meet the other with the same spacing you used everywhere else, then decide whether the intersection needs a tiny extra anchoring stitch.
If the fabric is bias-cut or loosely woven, curves and corners may distort while you stitch. In that case, lower the thread tension and support the fabric in a hoop or frame. The cleaner the base fabric stays, the cleaner the line will be. The fabric grain guide explains why the weave can change the way a line sits.
How tight should the thread be?
The thread should be firm enough to lie flat and loose enough that the fabric does not pucker. That balance is what gives backstitch its clean outline; too tight and the seam ripples, too loose and the line looks slack.
A good check is to lift the fabric slightly after a few stitches. If the line sits on the surface without trenching into the cloth, the tension is close. If the stitches sink and wrinkle the surrounding weave, the thread is too tight. If the stitches stand up like little loops, it is too loose.
Embroidery floss behaves differently depending on how many strands you use. With 2 strands, the line can look finer and more controlled; with 3 or 4 strands, it becomes bolder but also more likely to twist and build bulk on turns. Match the strand count to the fabric scale. A delicate cotton lawn needs a lighter line than a denim hem or felt edge.
The needle should pass smoothly through the fabric without forcing a hole larger than the thread itself. If the needle drags, the thread twists and the stitch line starts to look ropey. Pause every few stitches and let the floss unwind. A twisted thread catches the light unevenly and makes an otherwise straight line look messy. For more detail, consult a sewing thread guide and a fabric care guide.
How to start and end thread without bulky knots
You start and end thread by securing it under nearby stitches or inside the line so the back stays flat and the front stays clean. For outlines on visible work, bulky knots usually show through or leave bumps, which defeats the point of a neat backstitch.
At the start, leave a short tail on the back and stitch over it with the next 3 or 4 stitches. If the fabric is stable enough, the tail is trapped neatly beneath the line. Another option is to begin with a tiny anchoring stitch on the back side, then bring the needle up on the line and cover the tail as you go.
At the end, pass the needle under 3 or 4 finished stitches on the back, then trim the thread close. The thread should be held securely without creating a visible lump; if you are unsure, consult a professional or a trusted sewing instructor for the safest finish on your fabric. If the area is very small, weave the tail through the back of the stitch line in the direction the stitches already run, so the finish blends in.
This matters most on areas that will be handled or washed. A loose start or end can work free over time, especially on smooth fabric where thread can slip. If you are stitching a seam that needs more strength, a longer buried tail is safer than a short one.
Common backstitch mistakes that spoil the line
The most common mistake is uneven stitch length, and it makes the outline look shaky even when the color and thread are right. The fix is simple: stop trying to “feel” the spacing and look at it. Use the fabric weave, the pattern line, or a mental 2 mm to 3 mm reference until the rhythm settles.
Another mistake is skipping too far ahead with the needle. That creates open gaps on the front and makes the line look broken. On a curve, it also exaggerates the bend and can leave a sawtooth edge. Shorter steps usually solve the problem faster than tighter pulling does.
A third problem is pulling the thread after every stitch. That can distort the fabric and make the line wander off the pattern. Pull only until the thread lies flat. If the line puckers, loosen the tension on the next few stitches and let the fabric relax.
A fourth mistake is stitching directly through a fuzzy or hard-to-see line. Once the path is vague, the needle starts following the hand instead of the pattern. Redraw the line if needed. A clean pattern line saves far more time than guessing the route.
Backstitch is not forgiving of indecision, but it is forgiving of correction. If one section goes wrong, take out 2 or 3 stitches and reset the spacing before the mistake spreads.
What backstitch is best for, and what it is not for
Backstitch is best for clean outlines, short seams, lettering, and any line that needs clarity more than speed. It gives a firm edge that reads well on cotton, linen, felt, and many stable woven fabrics. It is also a good choice when you want the line to look intentional from both sides.
It is not the best choice when you want a very fast basting line, a soft sketchy border, or a highly decorative fill. It also becomes awkward on very thick materials where the needle has to fight the fabric at every stitch. In those cases, the line can bulk up instead of staying crisp.
If the pattern line is long and straight, backstitch is straightforward. If the line has many tight bends, junctions, or changes in direction, the stitch still works, but it asks for more attention. That trade-off is the price of the clean finish.
For readers building a larger stitching skill set, this page fits alongside the broader needlework stitches and technique guide. The main thing to remember here is simple: keep the stitches short, the spacing even, and the tension calm, and the line will read clearly. For related methods, see the running stitch guide and the hand-sewing seam finishes page.
What is backstitch used for?
Backstitch is used for outlines, seams, and any hand-sewn line that needs to look neat and hold together well. It is especially useful on pattern lines, lettering, and curved edges because the stitches overlap and form a continuous-looking line instead of a dotted one. On many small projects, 2 mm to 4 mm stitch spacing is enough to keep the line readable.
How do you make backstitch even?
Make backstitch even by keeping each stitch the same short length and by placing the needle back into the end of the previous stitch every time. A 2 mm to 3 mm rhythm works well for fine outlines on many fabrics, while slightly longer stitches suit heavier cloth. Consistency matters more than speed.
Is backstitch the same as running stitch?
No, backstitch is not the same as running stitch. Backstitch overlaps each stitch into the one before it, so the front looks continuous and stronger. Running stitch leaves visible spaces between stitches unless the spacing is extremely tight, which gives a different look and finish.
Drafted with AI; not yet reviewed by a person.